

HOW TO PREPARE A DOCUMENT FOR PRINTING
Not sure how to get your artwork
ready to be professionally printed?
Here’s a quick free guide to the basics.
Checking these are all done will help you avoid any last-minute delays in getting your print product on your desk.
If this doesn’t cover it or you need to know more, call us.
We’re happy to share our expertise with you.
BEFORE YOU BEGIN
The best software to use
Adobe InDesign for stationery, brochures and other documents. Artwork is exported as a print-ready PDF, with bleed and trim (crop marks), and embedded fonts.
Adobe Illustrator for vector graphics exclusively (images that are digitally created, not photographed – such as logos). Artwork is exported as an .eps file.
Adobe Photoshop for photographs exclusively. Artwork is exported as a 300dpi .jpg, .png, or .tiff file.
Microsoft Word for text documents.
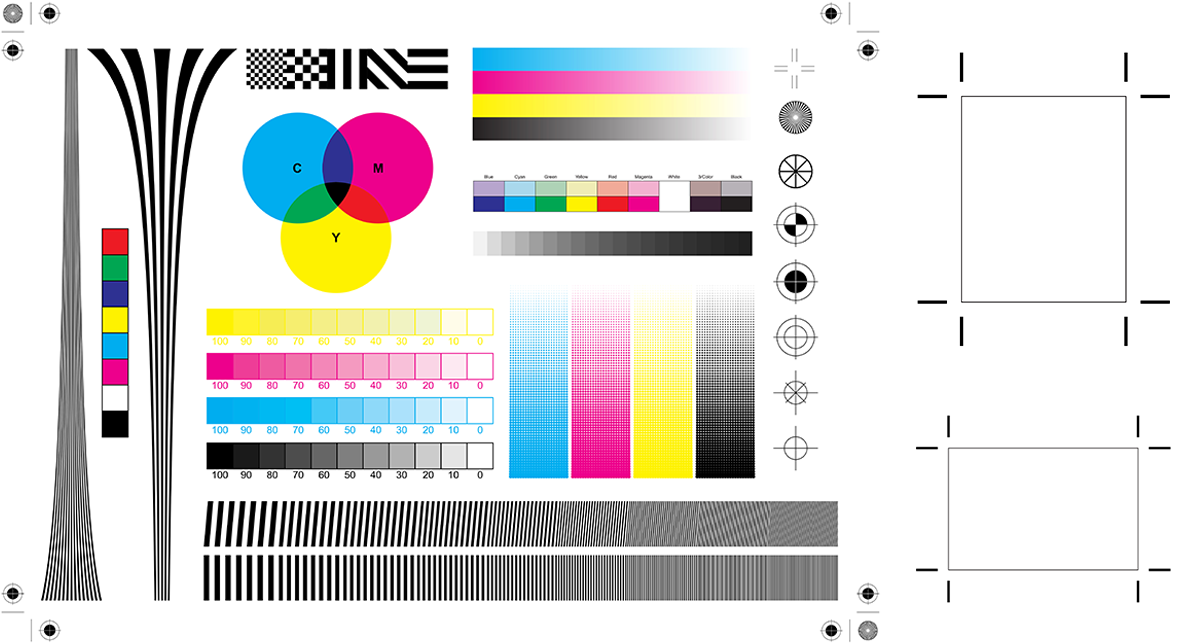
SET UP the correct colour format
CMYK is the best option, unless you want a single-colour print job or a spot colour print job then always use CMYK. If you’re not sure which is the right format for your job, check with us first.
Resolution
Set the resolution to at least 300dpi.
Page Size and Bleed
The page size of artwork must be the same size as the finished (printed) product.
Bleed: the margin around the edges of the page, to allow for trimming the document and any slight shifts in the printing process. Standard bleed is 3mm-6mm. It is in addition to the actual printed page size, and is typically set at the initial document set-up, before adding any artwork or text.
Colour Matching
The colours on your screen may not look the same when they’re printed on paper. Screen colours are usually in RGB, which isn’t the best for printing. The safest way to make sure you get the colours you want is to match the correct CMYK percentage of each element within your artwork.
Different printing stocks such as paper, plastic or vinyl absorb ink at different rates and can alter the final colouring. If in doubt, get in touch with us.
WHEN THE ARTWORK IS (ALMOST) COMPLETED
UV Coating and other special finishes
If you’re going to use a special finish such as a UV coating or varnish on your product, the artwork will require a separate layer with only the UV element to show us where the special finish is to be applied.
Trim (or Crop) Marks
These tell us where you want your document trimmed, ie. where the edges of the finished product need to be.
Trim (or crop) marks can be added when exporting as a PDF from InDesign.
Fonts
Always include your fonts in the files you send to us. If they are unusual, you want to make sure they don’t get substituted for another font during the printing process.
Supply all your artwork with the fonts embedded.
FINAL CHECK
Open your pdf in Adobe Acrobat Pro DC.
Click on Print Production, then Output Preview. This will bring up a window showing separations and if there is any spot colour present.
Spot colours need to be converted to CMYK before going to print.
If there's no spot colour, then in the Show All box, scroll down to RGB and check that none of your images is in RGB.
If there’s no RGB, no spot colour and your trims and bleed are added, you're ready to hit the Send button!

PRINT-READY CHECKLIST
High-resolution PDF
Bleed and trim marks
All colours are converted to CMYK (no RGB or spot colour)
The page size matches the finished product (+ additional bleed)
Any special finishes are saved in their own artwork file
Fonts are embedded
Trim has been added
Resolution is at least 300dpi
Artwork has been supplied as a print ready PDF
GLIDE ARE YOUR LOCAL print experts.
Whatever type of print product you need, we'll get it right for you.
DESIGN SERVICE

The visual impact of professional quality graphic design is crucial to the success of all your marketing products.
Our designers are fast, creative and professional. We can add to your existing products or create a beautiful design from your ideas.
Glide Print supply all design work from simple tasks like getting your artwork ready for print to creating complex documents such as annual reports and marketing packages. We work closely with our clients to make sure your branding is consistent and the print quality is excellent across all your products.
All of our designers are based in Australia, we don’t outsource our work overseas. You receive personal attention from someone you can talk to and meet. It’s all part of Glide Print’s outstanding service to you.
Like all our products, we supply our design services at Glide Print’s competitive prices.
All our knowledge and skill come at no extra cost to you so you know
you're getting the best quality for your budget and the process will be an easy one for you.
We're here to help.
If you'd like to find out more about the best way to create your a-frames
call us on (08) 9221 7514 email us or request a quote.